SSL Certificates
SSL Certificate Configuration
The G-Health Server installer will install a self signed certificate on install. This can be used to get the system up and running (provided your G-Health clients are configured to ignore certificate errors). Server communications with the Clients and the Web Console will be encrypted. However no verification of the server's identity will take place and when using the web browser you will be confronted with warning messages about the insecure nature of the site.
Best practice is to generate and install a valid SSL Certificate for your domain or host address.
Configuration of the SSL Certificate takes place in the appsettings.json files for both the GHealth.ProxyService and the GHealth.WebService. On a default install these files can be found in the C:\Program Files\G-Health\G-Health Server\Proxy and C:\Program Files\G-Health\G-Health Server\Web folders respectively. After making changes to these files the GHealth.ProxyService and the GHealth.WebService should be restarted respectively.
SSL Certificate Generation
When generating an SSL certificate the hostnames that users and G-Health Clients use to connect to the G-Health server should be specified as Subject Alternate Names in the certificate. If the hostname is only used in the subject then many of the latest browser versions will not trust the certificate.
Using a Certificate in the Windows Certificate Store
When using a Certificate located in the LocalMachine location the G-Health Server Services must be run with Administrator privileges in order to access the certificate. By default as a windows service this is the case, but if you run the services from a command line or you have a complex server configuration you may need to take care.
| Parameter | Options | Description |
|---|---|---|
Location |
LocalMachine or CurrentUser |
Certificate Location |
Store |
My |
My is the name of the 'Personal' certificate store in Windows |
Subject |
The certificate's subject field |
Proxy Service Configuration:
 "Kestrel": {
    "Endpoints": {
      "Https": {
        "Url": "https://*:5002",
        "Protocols": "Http2",
        "Certificate": {
          "Location": "LocalMachine",
          "Store": "My",
          "Subject": "Geutebruck Pacific",
        }
      }
    }
  }
Web Service Configuration:
 "Kestrel": {
    "Endpoints": {
      "Https": {
        "Url": "https://*:7002",
        "Certificate": {
          "Location": "LocalMachine",
          "Store": "My",
          "Subject": "Geutebruck Pacific",
        }
      }
    }
  }
Using a Certificate from File
Proxy Service Configuration:
  "Kestrel": {
    "EndPoints": {
      "Https": {
        "Url": "https://*:5002",
        "Certificate": {
          "Path": "C:\\Program Files\\G-Health\\SSL\\cert.pem",
          "KeyPath": "C:\\Program Files\\G-Health\\SSL\\privkey.pem"
        }
      }
    }
  }
Web Service Certificate Configuration:
"Kestrel": {
    "Endpoints": {
      "Https": {
        "Url": "https://*:7002",
        "Certificate": {
          "Path": "C:\\Program Files\\G-Health\\SSL\\cert.pem",
          "KeyPath": "C:\\Program Files\\G-Health\\SSL\\privkey.pem"
        }
      }
    }
Using Self Signed Certificates with Manual Distribution
It is not recommended to use Self Signed Certificates but in some cases it is unavoidable.
The following steps can be used:
- Generate a self signed certificate on the G-Health Server and configure G-Health to use it.
- On the Operator Workstations and Client NVRs export the certificate from the server via the browser interface.
- On the Operator Workstations and Client NVRs import the exported certificate to the certificate store.
On the Server
The below PowerShell script can be used to generate a self signed certificate on the server with a validity of 10 years. The certificate will be installed in the windows certificate store. Adjust this period up or down if desired by your security policies.
$hostname = "PutYourServerHostnameHere"

New-SelfSignedCertificate `
  -DnsName $hostname `
  -CertStoreLocation "Cert:\LocalMachine\My" `
  -KeyUsage DigitalSignature, KeyEncipherment `
  -Type SSLServerAuthentication `
  -NotAfter (Get-Date).AddYears(10)
Follow the instructions above for configuring the G-Health services to use this self signed certificate. The subject will be the hostname as you entered in the script. Make sure the G-Health Web and Proxy services are restarted after you update their configuration.
On the Client Workstations
Export the certificate via the browser
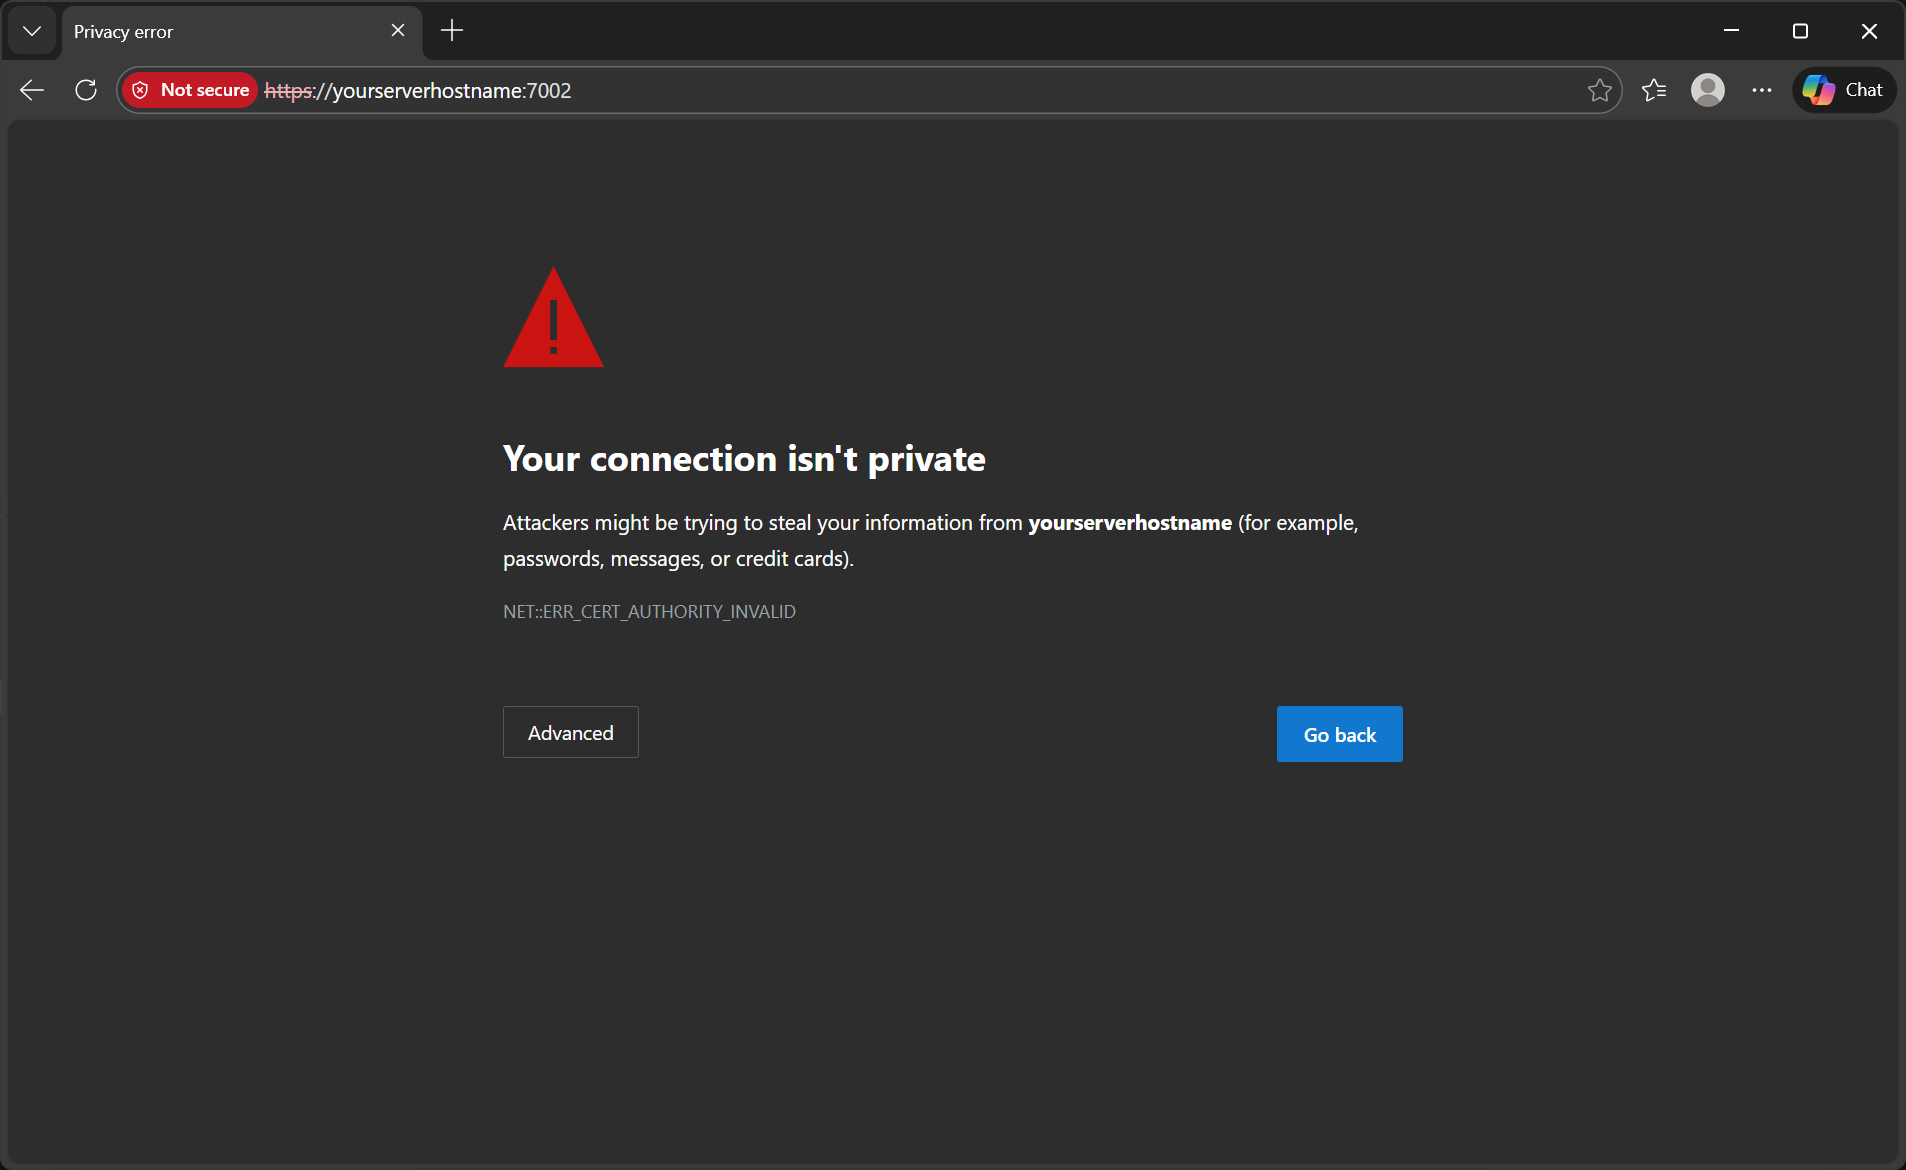
On the operator workstation open the browser and navigate to the G-Health Web interface using the servers hostname. Using default ports this would be https://yourserverhostname:7002/
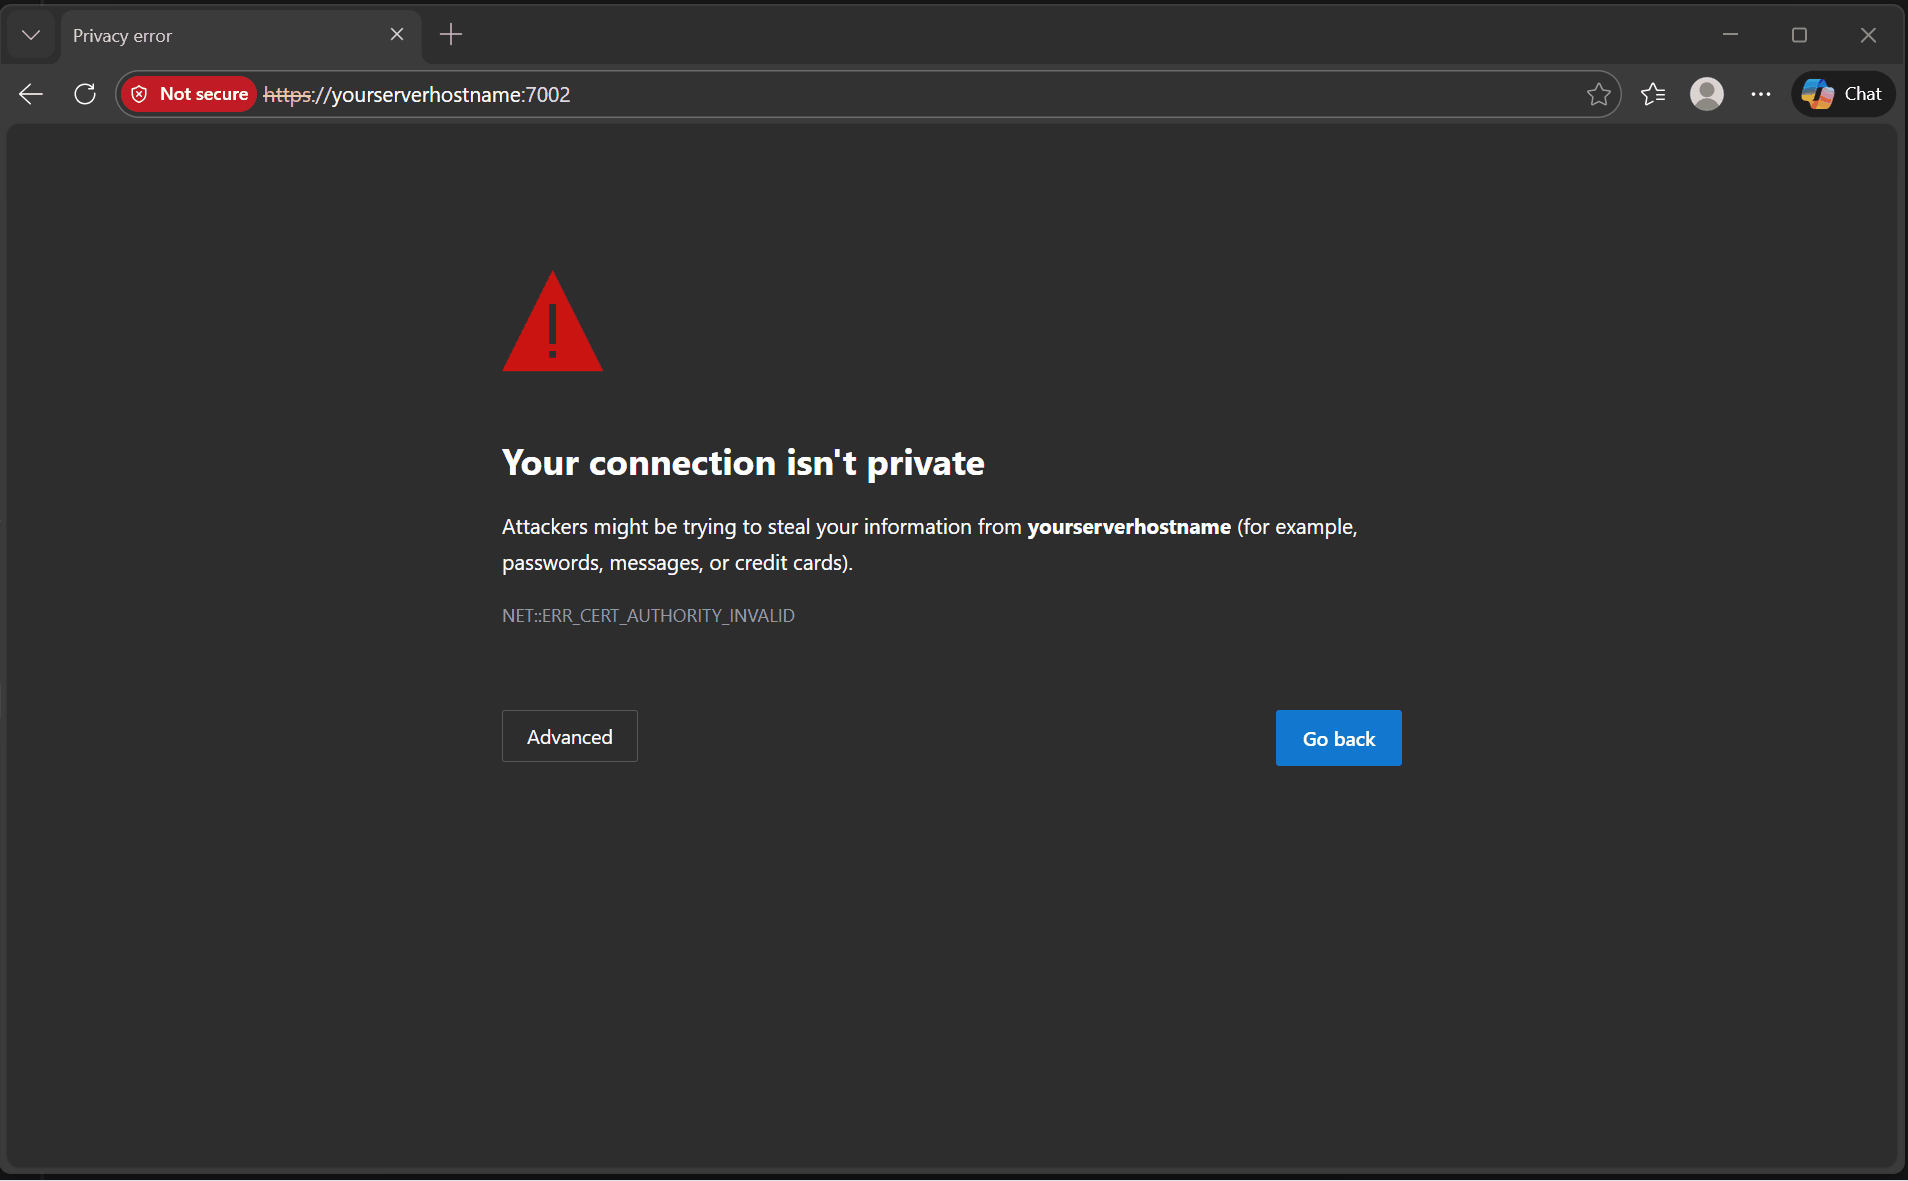
You should see a screen like the below warning you about the invalid SSL certificate.
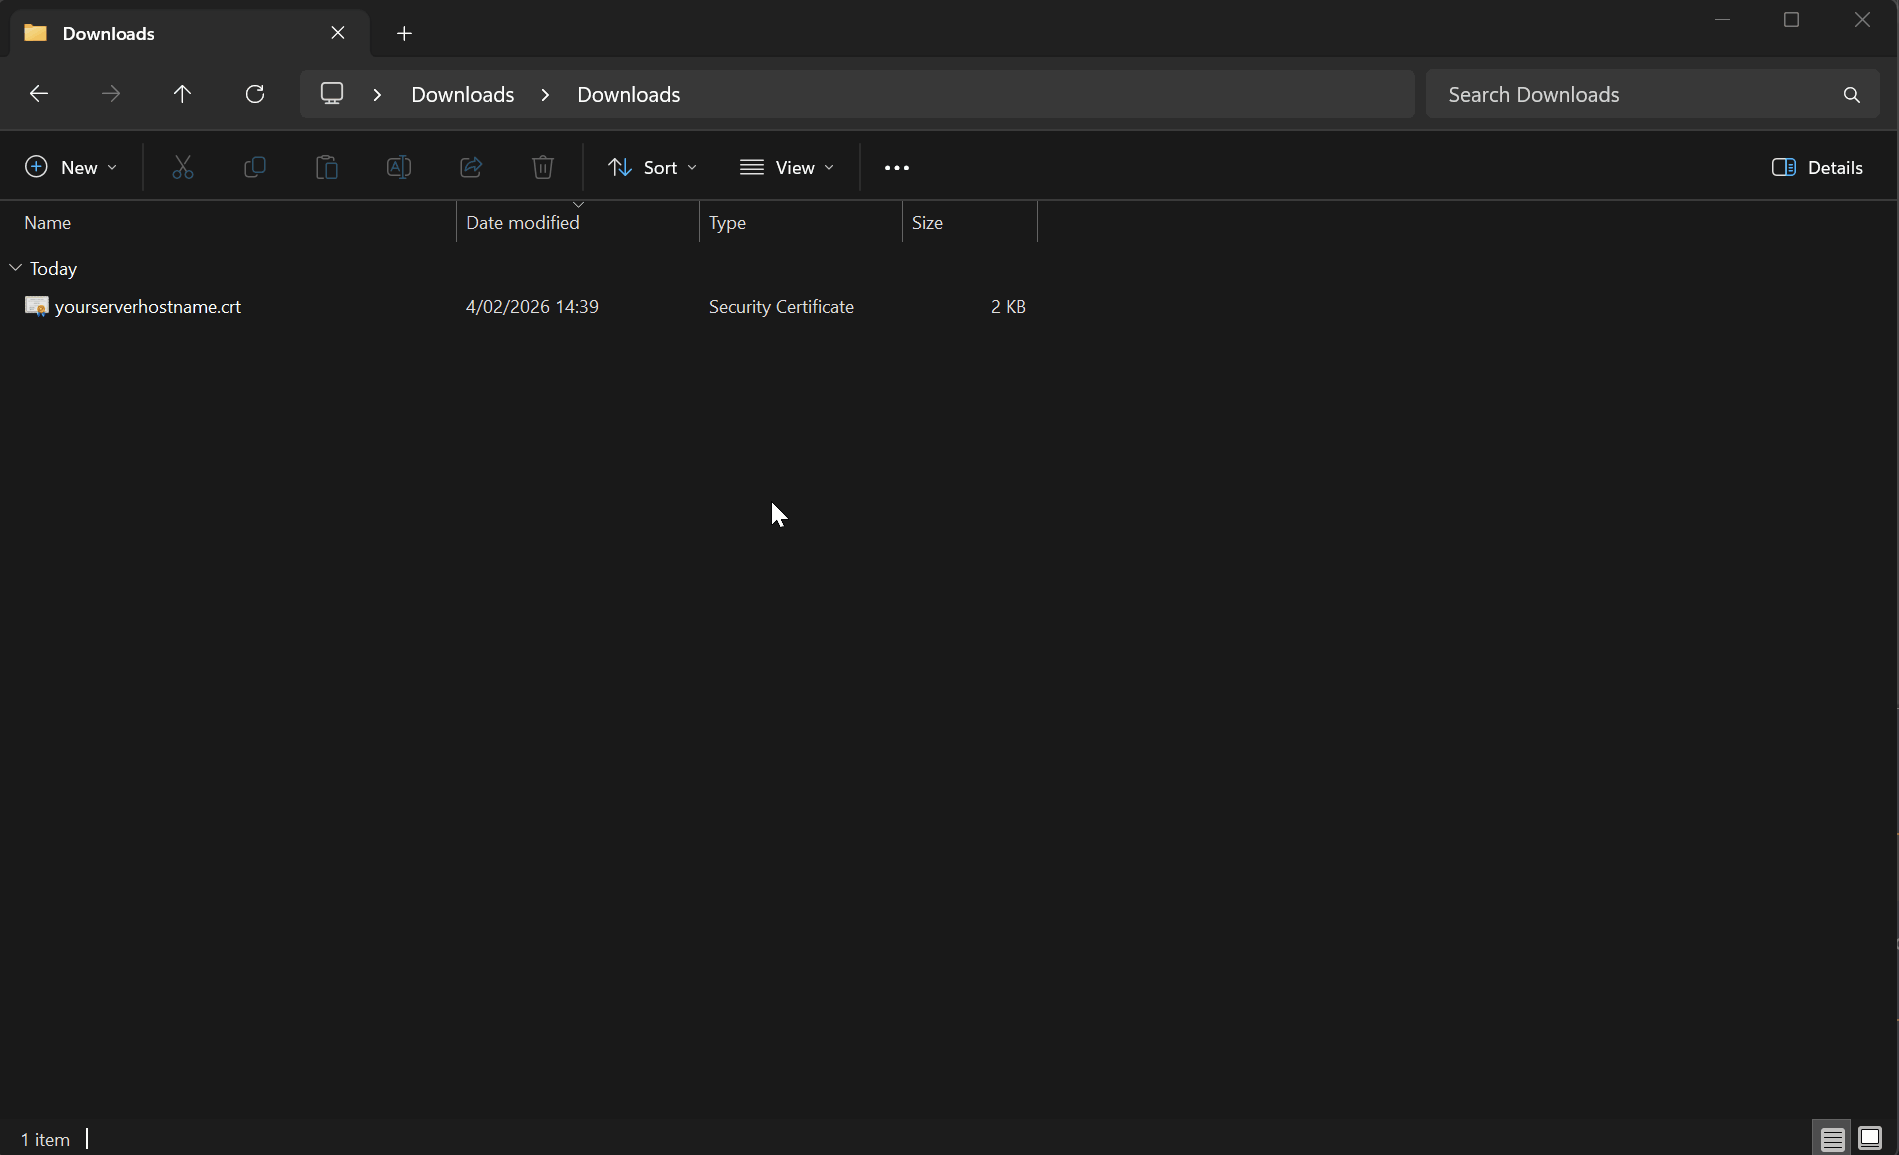
Next export the certificate.
In the browser you should be able to view and export the certificate via the icon in the URL bar. Save it to a local folder.
Import the certificate to the certificate store on the Operator Workstations
Warning
Do not attempt to export the certificate from the server's certificate store as this will include the private key which should not be distributed outside of the server
The browser should have exported a *.cer file
- Double-click the exported
*.cer - Click Install Certificate
- Choose Local Machine (Requires admin)
- Select Place all certificates in the following store
- Choose Trusted Root Certification Authorities
- Finish
- Restart the browser Chrome / Edge
You should now no longer get warning messages in the browser.
Repeat for all Operator Workstations.
Client NVR Servers
Though the client has the option to ignore invalid SSL certificates it is better in this case that they are also set up with the self signed certificate and the option to ignore invalid certificates is disabled.
Repeat the above process that you followed for Operator workstations exporting the certificate via the browser (or manually copying one you exported from the operator workstation) and import it as before on the client NVR.